Friday, 11 November 2005

Seat End

Not a lot to report on the boat from the last few weeks: non essentials like fences, shade sails, lawns, broken mowers, vege gardens, weeding and those sort of time wasters have been getting in the way.

Got the seat end on though. That's an extension from the plans. We wanted to have more cockpit space, so we moved the thwart forward and narrowed it down.


Sorry about that bright glare in the first picture but that's what you get on a typical Tauranga afternoon.

Hopefully we'll get that bow plank on this weekend. Had a fairly successful dry fit the other night, involving a windlass and some threaded rod.

Friday, 21 October 2005

How to remove a bow plank


We decided it had to go.


Someone asked me how we got it off. In small pieces. Actually, mostly in pieces that fitted up the vacuum cleaner. That’s the beauty of a grinder fitted with a sanding disk. Artesian work. And about 4mm of dust covering the entire garage and surrounds.

We decided to make some changes to the stem to make the plank fit better.

And while that was happening, we got another plank on.


And we got the seat tops cut out ready for later.


Well, how else were we going to get the front edge marked?

Thursday, 13 October 2005

The Infamous Bow Plank


After reading what other people had gone through trying to get the reverse curve in the bottom bow plank, I had been dreading it.

We came at it slowly, with lots of dry fittings, and slowly pulled it into shape. It got glued on with at least a dozen temporary screws in it, some stiches and a pile of clamps.

It sounded like a few wood fibers had broken, but we weren't too worried until we looked at the curve after the clamps where out the way. It's suppose to have a reverse curve, but it looks too extreme.


What really concerns us, is as the plywood comes around bulkhead one going aft it bulges, and then curves back in before bulkhead two. The straight edge in the photo helps show what I mean - the arrow points to where it dips back in.


We don't know if this is just how the Nav's lines are drawn, and if this is normal. Or if it's a problem with how this one's gone on.


It looks all a bit messy in here at the moment, but we glued these blocks on to give us a solid anchorage to screw into when we fitted the plank.


It was when we started putting the second side on that we ran into serious problems. Although we were screwing into the stem, and had some clamps going to temporary battens, we obviously had too many clamps straight on the stringer because it started tearing the stem apart. The ply delaminated on at least three different layers.

We repaired that by running epoxy in, and bolting it together.


After that had several days to harden up, we had another go. This time despite using screws with large timber pads, we tore the plywood.

We've been left a little bit disillusioned at the moment, and trying to sort out our options.

Progress, but slowly

It's been ages since I posted. A few weeks passed where nothing happened on the boat, and then when something did I had to get hold of a camera.

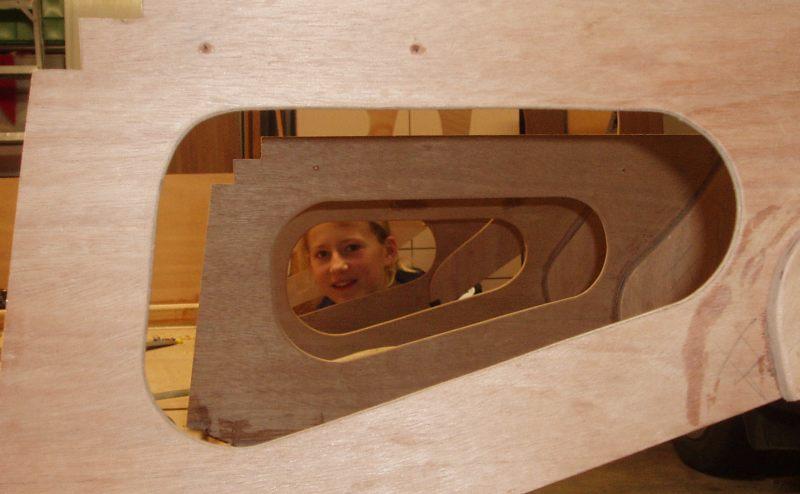
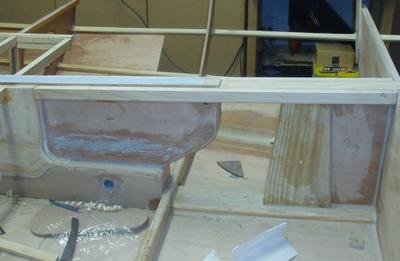
The centre case went in. Those cross pieces are where we are putting the thwart. The side seats will extend to the front edge of those, and we'll put an end on them forward of bulkhead five.

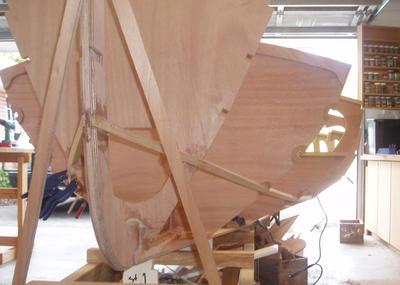
Here you can see our mast step and the bracing on the forward end of the centre case.

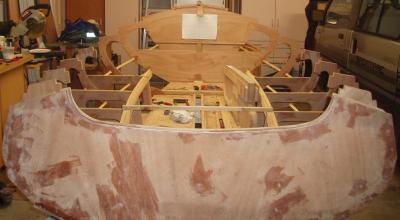
The first and second planks from the stern are on. And the third stringer now.

I-love that stepped scarf.

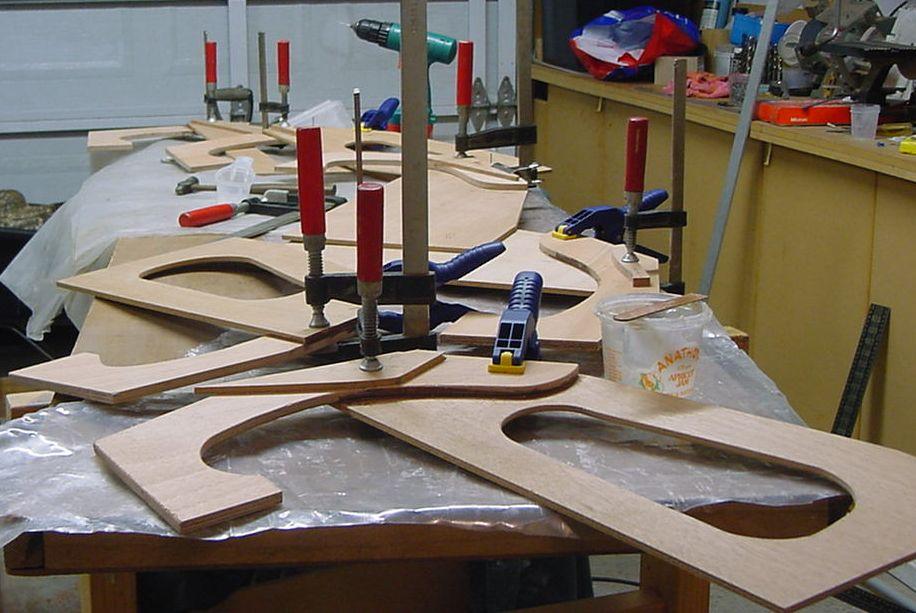
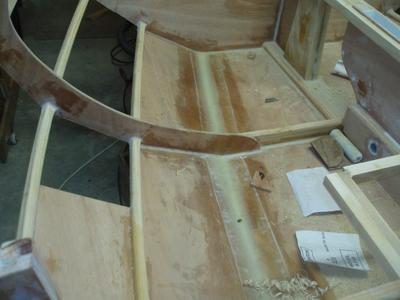
Here's the glue part of stich and glue, with the cove and fiberglass tape applied.

And here's one I need to get to.

We've hit on a system now. I do the epoxying, Zac removes the excess once it dries, and Dad nuts out the fiddly bits. They give me a bit of flack for apparently being too liberal in my use of bog. (It's not so much around the area I'm gluing, it's the tools that really gets them. When things don't work quite right and the epoxy hits the fan (just when it's starting to cure) you seem to end up gluing other things (like hair).)

I remember when I was little (OK, younger! (for the unacquainted, I'm five foot three and a half)) someone asked my grandfather if I was any good at painting. He said, 'Depends what you mean by good. He does more than he's asked.'

Epoxy really does go the second mile.

Wednesday, 10 August 2005

First Plank

The second stringer is on.

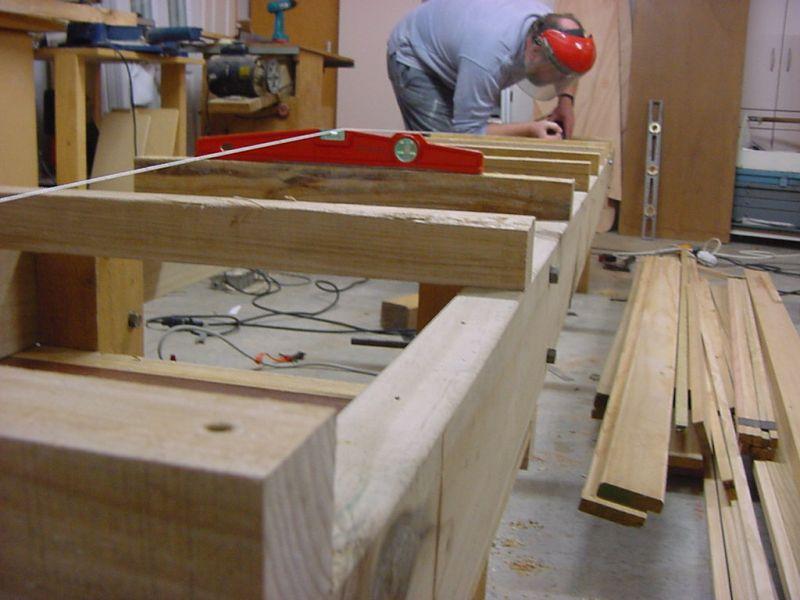
Here's the Luke Foster 10:1 Stepped Scarf Pro Jig. Just add skillsaw.

And finally, the first plank.

Tuesday, 9 August 2005

Centre Case and 1st Stringer


I've been getting a hard time for not posting, but we're trying hard to be finished for summer and I do have to spend time studying and writing.

Here you can see the inside of the centre case sides.


The stem and bulkhead one went on.

Here's our centre case. We've made a lot of changes from the plans. Our centre board is a much higher aspect ratio. It comes in around 1m by 300mm and 30mm thick. The board's laminated from 20mm strips of cedar.


In these two you can see where the blocks for the uphaul and downhaul fit. And the notches for the thwart, which is only going to be 200mm wide and on the forward side of bulkhead five, instead of the aft side. We're changing the seat layout to give us more space in the cockpit.
And here's the first stringer. Boy it's fiddly, and it takes ages coving around every joint.

Thursday, 28 July 2005

Mods

Here we're gluing on the third and final seat front stringer. We've angled the seat front for a more sporty feel - eight degrees to match the coaming. We're having a rounded off seat front instead of the normal over hang on the Nav. Thats's the reason for the three stringers.


At the stern we've done away with the aft deck and changed to a scooped out transom.

And some more framing goes in.

Tuesday, 26 July 2005

Bulking Up


Going 3D

The IT Department

There's a hole in my boat.

S for Sports

This is the 'sports' version, because we've taken John's option of the racing sloop rig. We've also made a few internal changes to the seating, transom and centre board.

Building started at the beginning of May.


Here's the bottom scarf joint cut.


And some of the bulkheads gluing.


The building jig going together.


And the bottom panel cut out.